Early versions of RigPi used a settings file named audioinjector-wm8731-audio for the RigPi Audio board. If you don't have a RigPi Audio board installed in your RigPi, it is not necessary to proceed with the recommended changes.
If you have one of the early RigPi servers, follow the steps below to update. Right-click Speaker icon on the Raspberry Pi Speaker icon. If the drop down list includes "audioinjector," it is strongly recommended you proceed with this change. If the list already includes snd_rpi_proto, please confirm the audio settings steps below for Audio Device Settings. Even if you are using your radio's CODECs to provide input and output audio, it is best to make these change for the RigPi Audio board.
This topic also includes information on how to change audio levels and switches in Raspberry Pi settings for the new overlay.
This update changes a file called a “device tree overlay” to a new one that is better suited for the RigPi Audio board. The new overlay provides significant improvements for the decoding of FT8 signals in WSJT-X and Mumble audio quality for weak signals.
Because this change requires elevated file access permissions it will be done manually. A file will be edited from the Raspberry Pi Desktop.
Open the Raspberry Pi Desktop by:
1.Attaching an HDMI Monitor (micro HDMI for Raspberry Pi 4B), USB mouse and USB keyboard to RigPi, or….
2.Using VNC Viewer from another computer to open the Raspberry Pi Desktop in a virtual window.
Start Terminal by single-clicking the black icon in the Desktop toolbar. Enter the following commands:
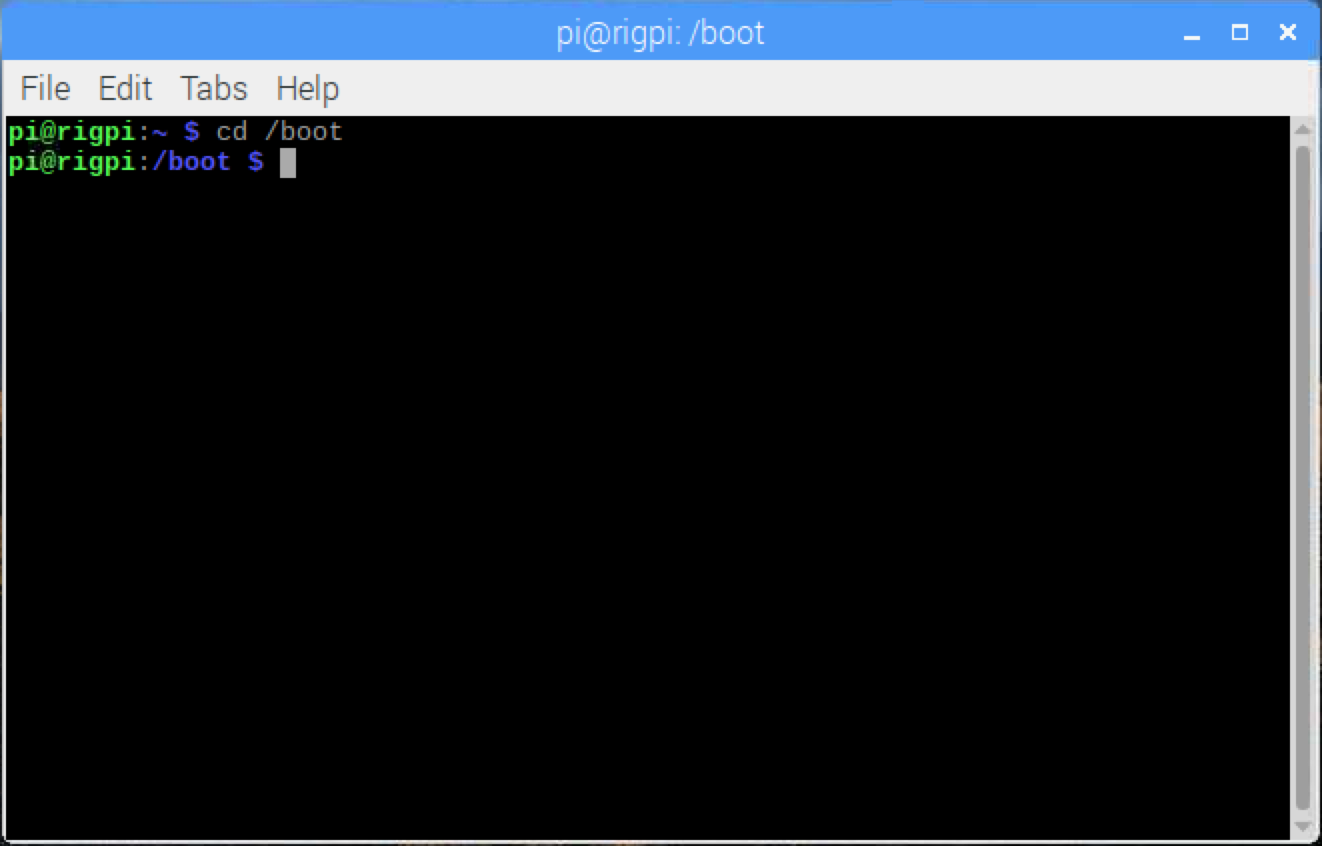
cd /boot<Enter>
sudo nano config.txt<Enter>
Scroll to the end of the config.txt file using the down arrow key.
Replace the second to last line (containing audioinjector-wm8731-audio) with this:
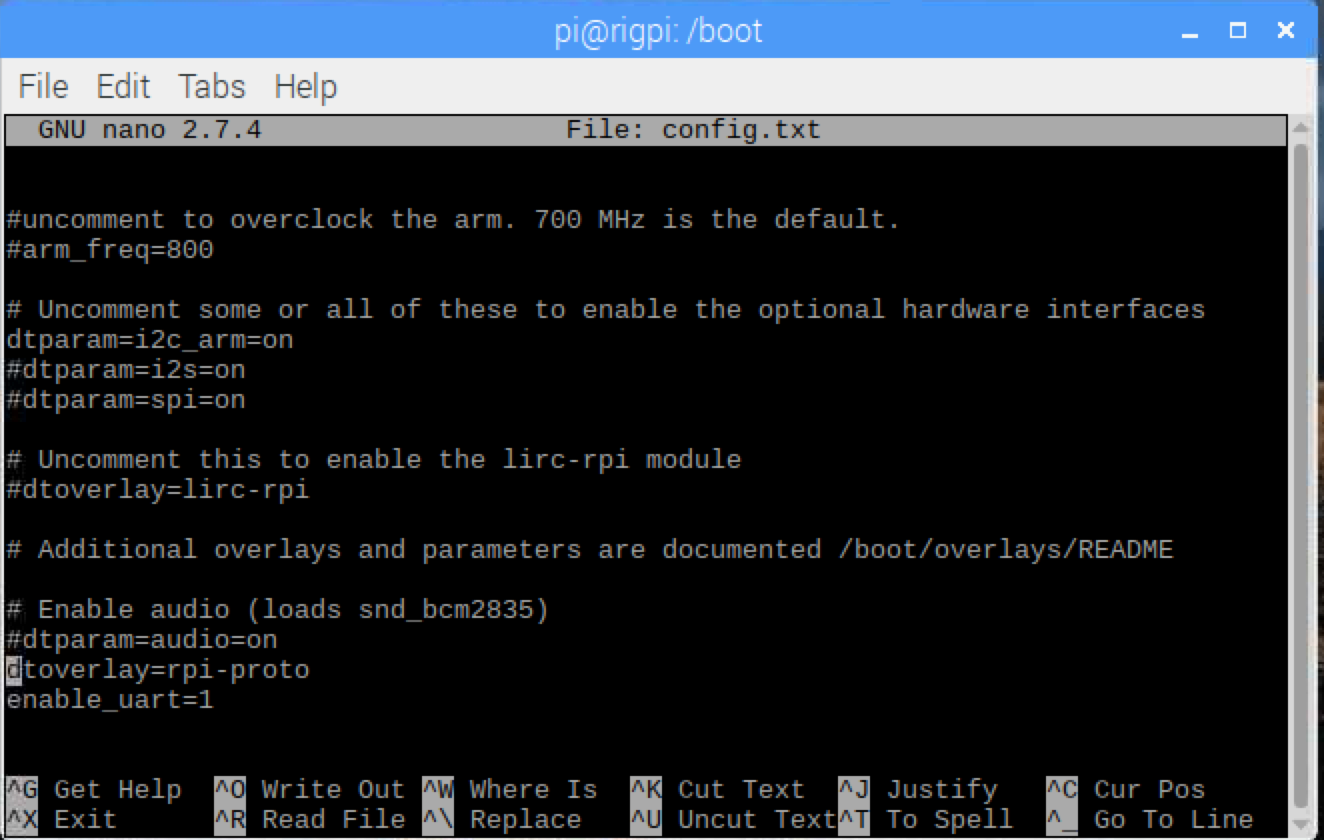
dtoverlay=rpi-proto
Save and exit
Ctrl+o<Enter>
Ctrl+x<Enter>
Reboot using
sudo reboot now<Enter>
to have the change recognized.
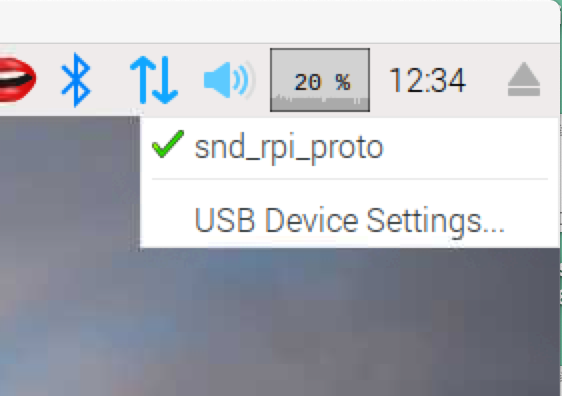
After rebooting, Right-click on the Speaker icon at the top right-hand end of the Desktop and select snd_rpi_proto for the following steps.
We will now use the Raspberry Pi Audio Device Settings to set levels and input/output connections.
Click the Raspberry Applications Menu icon in the top left corner of the Raspberry Pi Desktop, then select Preferences>Audio Device Settings.
•Confirm that Card: snd_rpi_proto (Alsa mixer) is the selected card.
•Use these settings for using the Mic or Line Input and Line Output. If the audio levels are too low, use the Mic settings in the Options tab.
Audio Device Settings, Selections:
Click the Select Controls... button at the bottom. Put checks in the following options:
1.Master
2.Line In
3.Microphone
4.Mic Boost
5.Capture
6.Input MUX
7.Output Mixer HiFi
Audio Device Settings, Levels and options:
Control |
Value |
Notes |
|---|---|---|
Playback |
||
Master |
2/3 maximum |
change to suit |
Mic Boost |
Maximum |
change to suit |
Capture |
||
Capture |
2/3 maximum |
change to suit |
Switches |
||
Line-in |
checked |
|
Microphone |
Checked |
|
Output Mixer HiFi |
Checked |
|
Options |
||
Input Mux |
Line In |
Select Mic for low level audio input |
Finally, click the Make Default button at the bottom and close the Audio Devices Settings.
After testing with your transceiver you may find it necessary to change some of the Audio Device Settings window options and levels.
Other settings
Any program that uses audio from RigPi Audio, a radio CODEC, or an external USB sound card should be set to [default] for input and output devices except for Mumble. The default is set by using the Speaker right-click menu.
If you wish to use a digital mode program (Fldigi, JT8Call, WSJT-X) use [default] for all audio input and output devices.
In Mumble client, use [sysdefault:CARD=sndrpiproto] snd_rpi_proto, Default Audio Device if using the RigPi Audio board. If using a radio CODEC, use [default].